The Call of the Volcano: Your Ultimate Guide to Conquering Mount Rinjani
Muhe - Friday, 18 July 2025 | 02:30 PM (WIB)

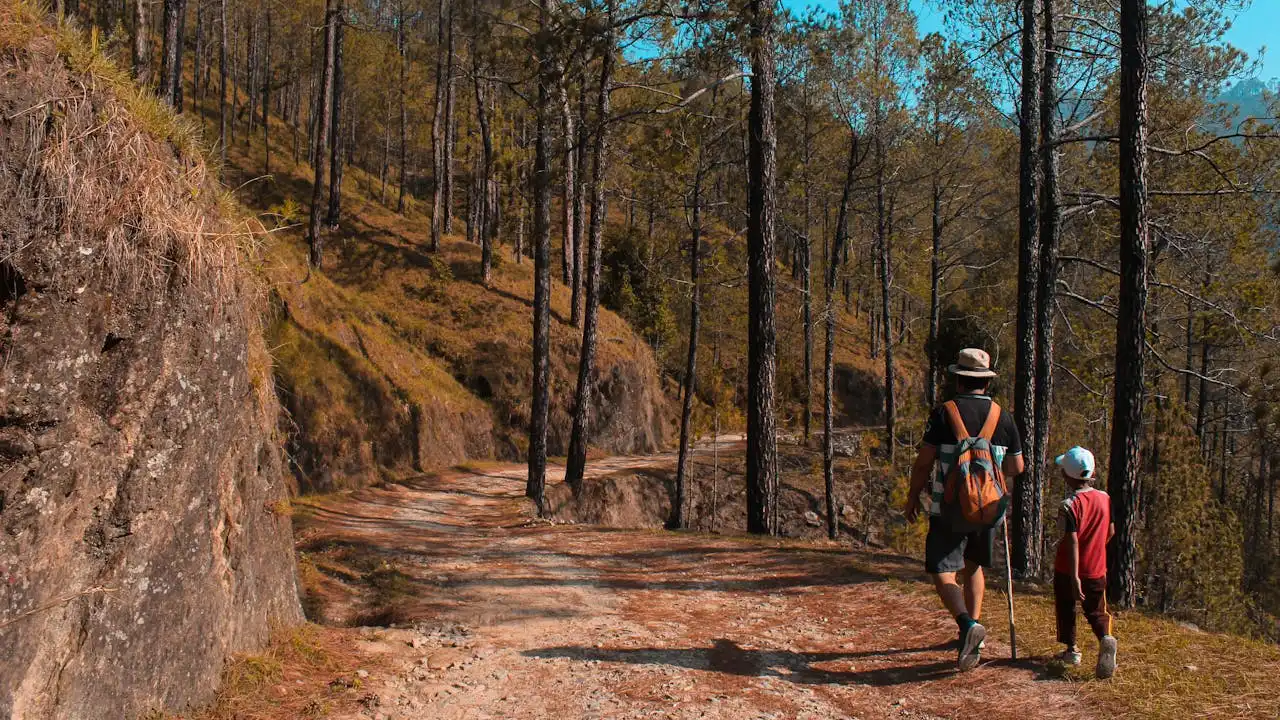
Choosing Your Path: The Rinjani Routes
Rinjani offers a couple of main starting points, each with its own character and challenge. Knowing which one suits your adventure style is half the battle.The Sembalun Route: The Summit Seeker's Highway
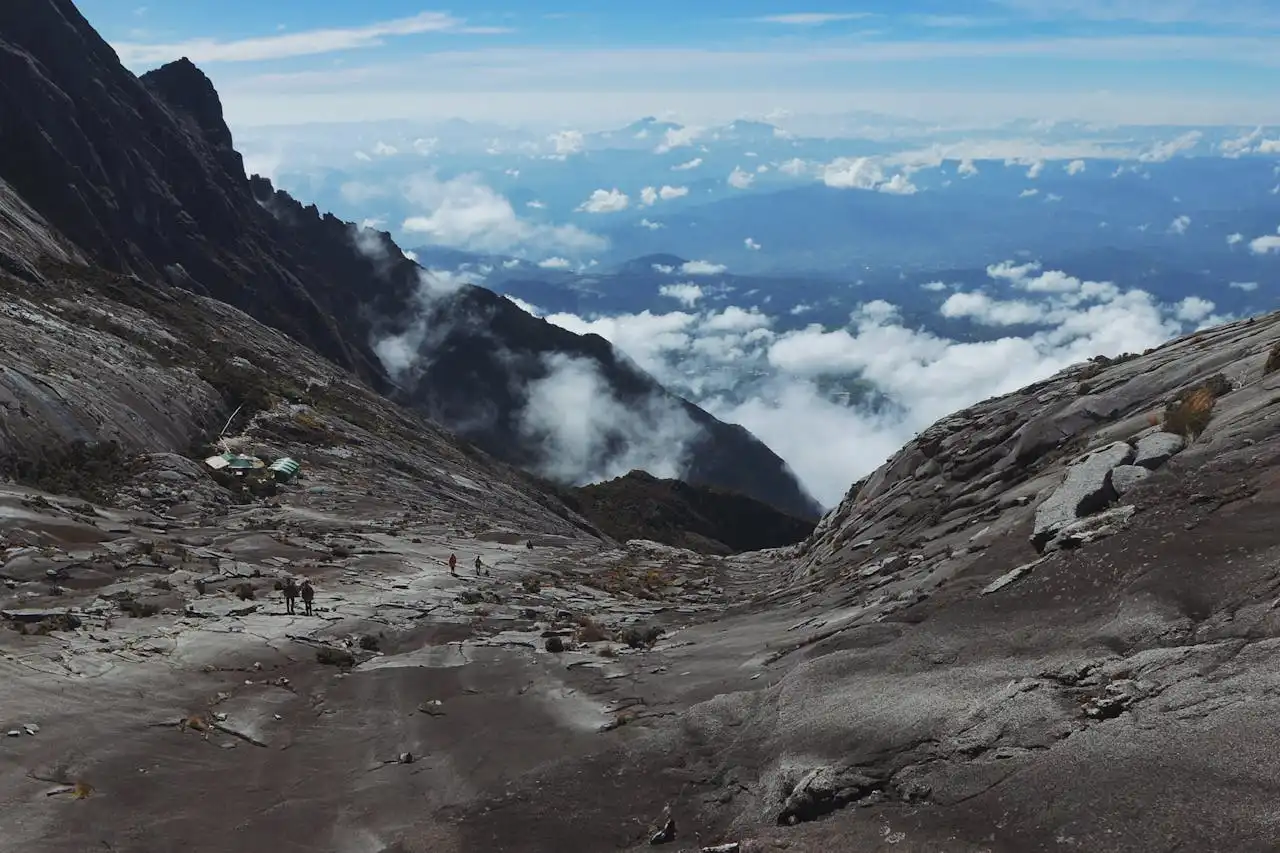
If your eyes are fixed squarely on the summit, then Sembalun is likely your starting point. Located on the east side of Rinjani, this route is the most direct path to the caldera rim and, subsequently, the true summit. Most trekkers aiming for the top will opt for a 2-day, 1-night or 3-day, 2-night itinerary starting here. The initial stretches are relatively open, offering less shade as you traverse rolling grasslands, which can be brutal under the midday sun. But don't let the "highway" tag fool you; the ascent to the crater rim (Plawangan Sembalun) is steep, challenging, and often involves navigating loose scree. And that final push to the summit? Oh boy, that's where Rinjani really kicks your butt. It’s a pre-dawn scramble up a notoriously steep, sandy, and sometimes soul-destroying slope. But when the sun peeks over the horizon and you’re standing above the clouds, you’ll forget every single arduous step.The Senaru Route: The Scenic, Shaded Ascent
On the flip side, we have Senaru, situated on the western flank. This route is typically chosen by those who want to experience the lush tropical forest, the impressive waterfall (Sendang Gile), and reach the Senaru Crater Rim (Plawangan Senaru) for those iconic lake views, often without attempting the summit. It’s generally considered a more gradual, though still challenging, climb, winding through dense jungle, which offers much-needed shade. The vibe here is different; it's greener, more serene, and feels like a true jungle expedition. While you can reach the lake from here, ascending to the summit from Senaru is a much longer, more strenuous affair, often requiring a 4-day, 3-night trek. Many trekkers opt for a "Sembalun up, Senaru down" combo, giving them the best of both worlds – the summit glory and the jungle descent. Most guided tours will handle the logistics of getting you to and from these trailheads, making it a surprisingly seamless experience once you've picked your poison.Gear Up: What to Pack for Rinjani
This isn’t a leisurely stroll in the park; Rinjani is serious business, and your packing list needs to reflect that. Think layers, protection, and self-sufficiency. While your porters will carry the bulk of the communal gear (tents, cooking equipment, food), your daypack needs to be thoughtfully curated.- The Backpack: A comfortable 30-40 liter daypack is usually enough for your personal essentials.
- Footwear: Invest in sturdy, broken-in hiking boots with good ankle support. You'll thank yourself during those scree descents. Maybe bring flip-flops or sandals for camp.
- Layer Up, Buttercup: The summit can be near-freezing, even below, while the trek up can be hot and humid. Think quick-dry base layers, a fleece or down jacket, a waterproof and windproof outer shell (a good rain jacket is non-negotiable!).
- Headwear: A warm beanie for cold nights and summit push, and a wide-brimmed hat or cap for sun protection during the day.
- Gloves: Warm, waterproof gloves for the summit; thinner liner gloves are great for chilly mornings.
- Lighting: A headlamp (with extra batteries!) is crucial for pre-dawn summit attempts and navigating camp after dark.
- Trekking Poles: Honestly, a game-changer. They save your knees, aid balance on tricky terrain, and make descents so much easier.
- Sun Protection: High-SPF sunscreen, sunglasses (essential for the summit's glare), and lip balm with SPF.
- Hydration: Water bottles or a hydration bladder (2-3 liters minimum capacity). Water filters or purification tablets are a good idea if you plan to refill from natural sources (which your guide will usually do).
- First-Aid Kit: Blister pads, pain relievers, antiseptic wipes, any personal medications. Your guide will have a basic kit, but it’s always wise to have your own.
- Snacks: Energy bars, nuts, dried fruit, chocolate – anything that gives you a quick boost.
- Power Bank: For charging your phone or camera. No outlets up there, obviously!
- Toiletries: Small towel, toothbrush, biodegradable soap.
- Trash Bag: Crucial for carrying out all your rubbish. Leave no trace, people!
The Price of Paradise: Rinjani Costs
Let's talk money. While Rinjani isn't Everest, it's also not a free-for-all. Trekking Mount Rinjani legally requires a guide and porters (for conservation and safety reasons), which means booking a package tour is pretty much mandatory and the safest bet. DIYing it is not an option for good reason.- Trekking Package: This will be your biggest expense. Prices vary widely based on the duration (2D1N, 3D2N, 4D3N), the number of people in your group (private vs. shared), and the level of comfort/service.
- For a standard 3D2N trek, expect to pay anywhere from **$250 - $450 USD per person** for a reputable company in a shared group. Private tours will cost significantly more. This typically includes permits, guide, porters, all meals and water during the trek, camping equipment (tents, sleeping bags, mats), and transfers to/from your accommodation in Senaru/Sembalun.
- National Park Entrance Fee: This is usually included in your package, but good to know it exists. It contributes to park maintenance and local communities.
- Transportation to Lombok: Flights to Lombok International Airport (LOP) from Bali or other Indonesian cities, or ferries. This cost is entirely dependent on your origin.
- Pre/Post-Trek Accommodation: Budget for a night in Senaru or Sembalun before and after your trek. Guesthouses are reasonably priced, usually around $15-$40 USD per night.
- Tips for Guide and Porters: This is a crucial part of the budget! These folks work incredibly hard. A good rule of thumb is to tip around **IDR 200,000 - 300,000 per porter per trek** and **IDR 300,000 - 500,000 for the guide per trek**, depending on the length and service. Pool money with your group if you're on a shared tour.
- Personal Expenses: Snacks, drinks, souvenirs, and maybe a celebratory meal after you descend!
Final Thoughts and Wise Words
Rinjani is no walk in the park. It's a challenging climb that will test your physical and mental limits. Train beforehand! Do some long walks, stair climbs, or hikes with a weighted pack. Get your body ready. The dry season (April to November) is the best time to visit, avoiding the treacherous wet season closures. And above all, go with an open mind, a sense of adventure, and respect for the mountain and its natural beauty. The views, the camaraderie, the sheer triumph of reaching that summit – it's all part of an experience that will stay with you long after the dust settles on your hiking boots. Go on, embrace the climb!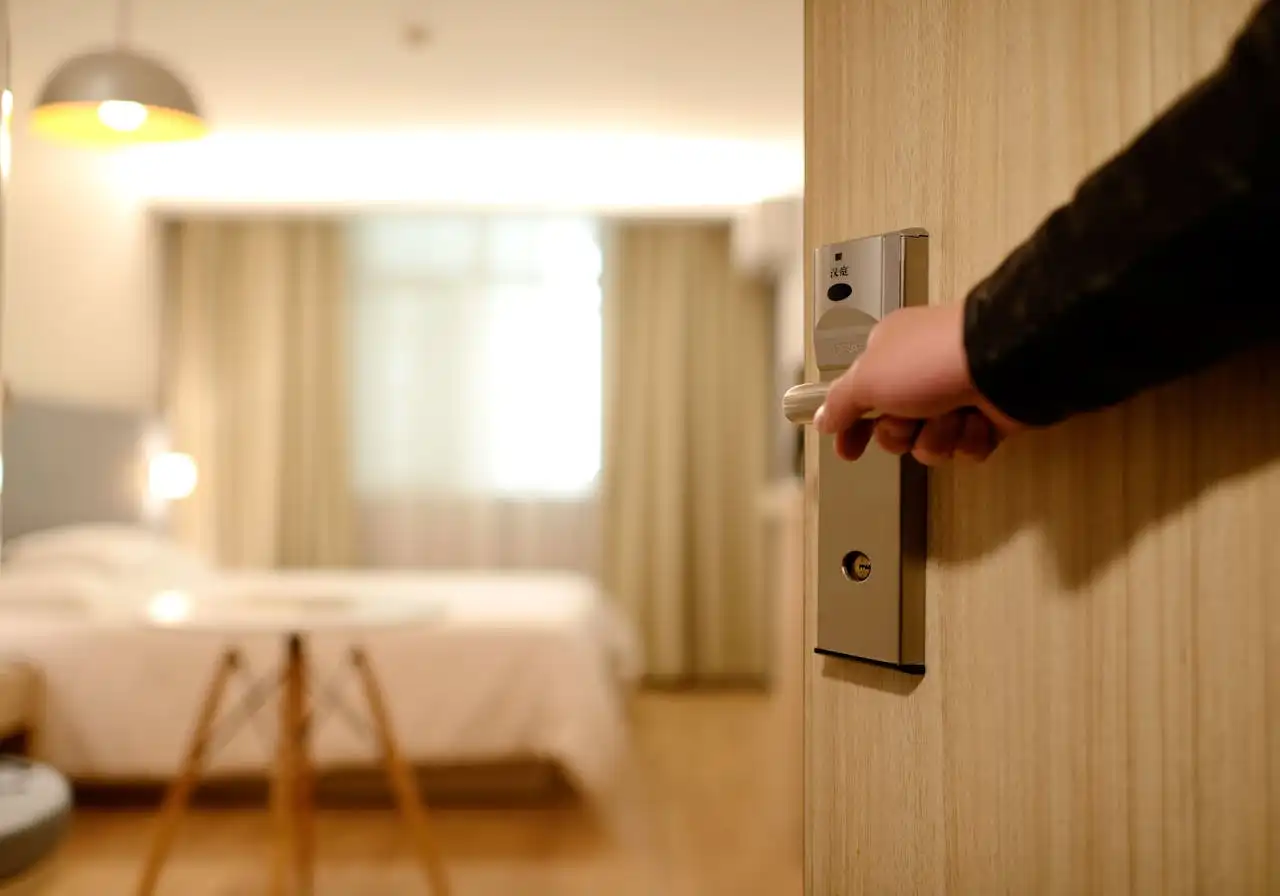
Your Ultimate Guide to Nailing That Weekend Getaway Hotel Stay
a year ago
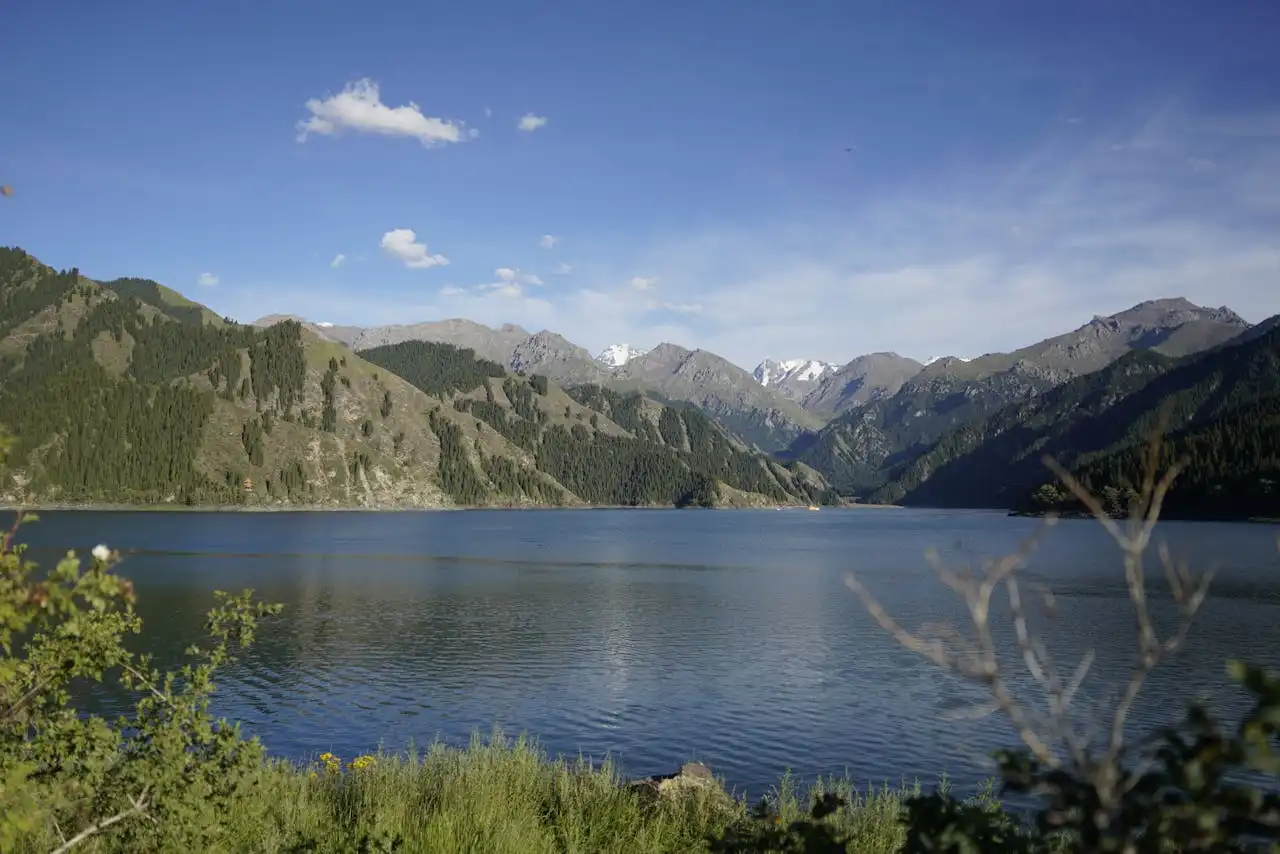
Secret Natural Beauty: What are Kazakhstan's Must-Visit Natural Tourist Attractions?
a year ago
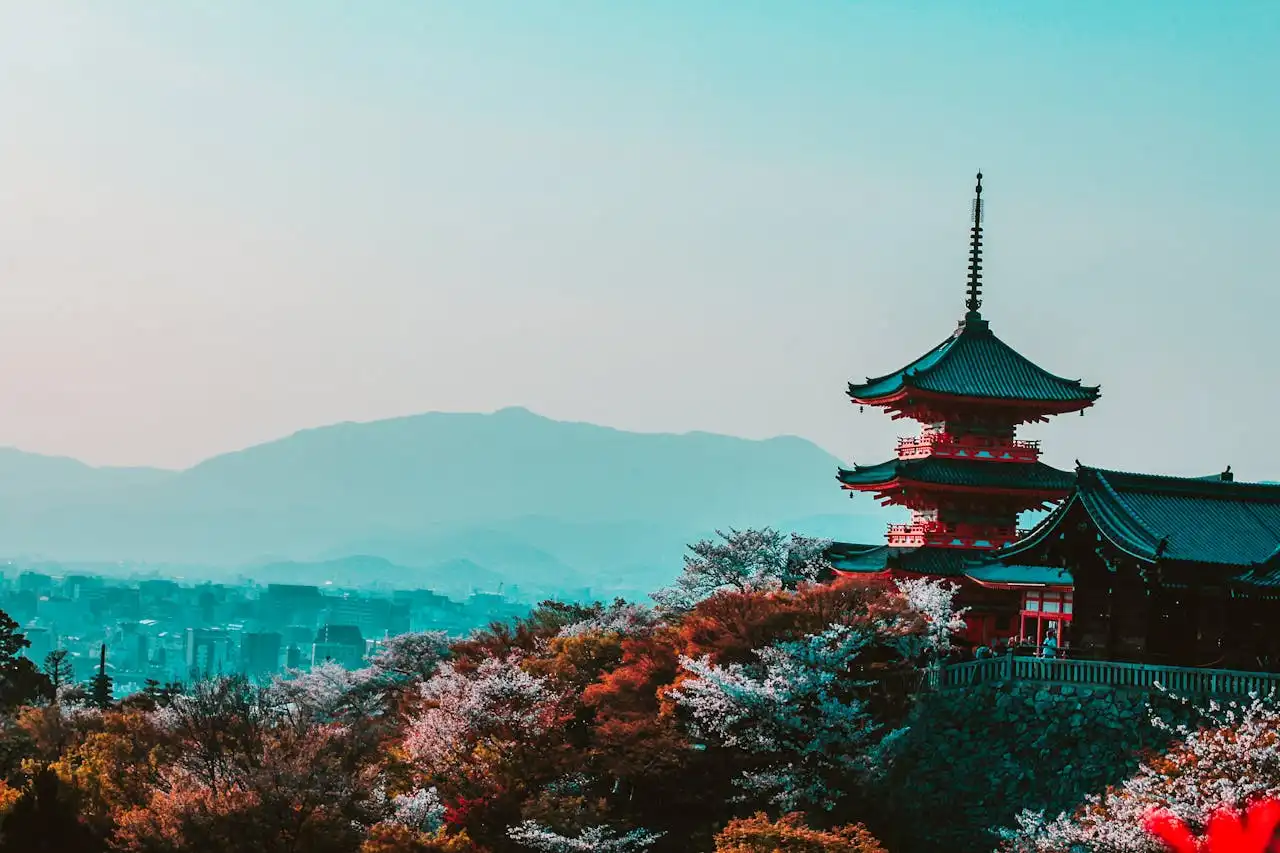
New Travel Rules for Japan in 2025: What Travelers Need to Know
a year ago
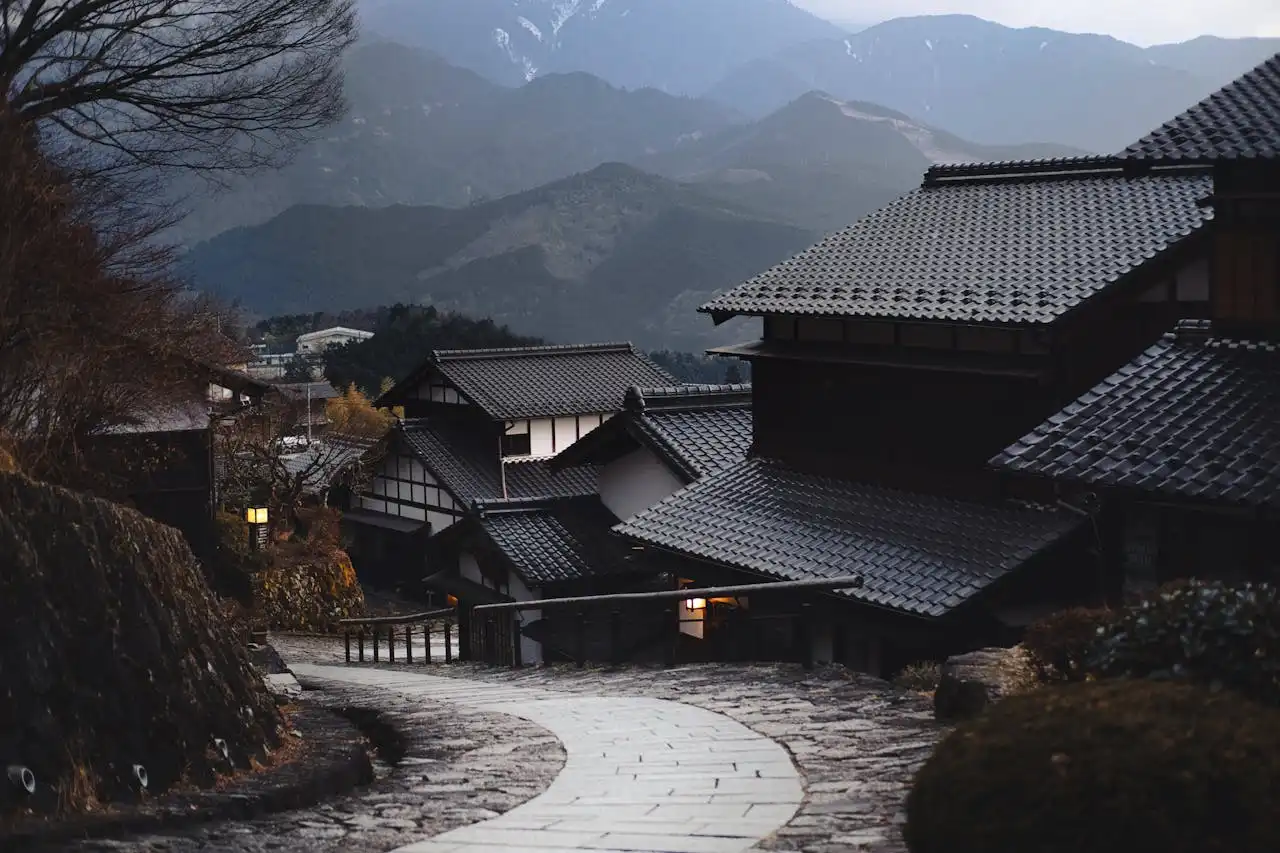
Beyond the Beaten Path: Unveiling Japan's Next-Level Hidden Gems
a year ago
From Blighty to Bali: Why Japan and Indonesia Are Stealing British Hearts (and Holiday Plans)
a year ago
Forget What You Heard: Malaysia is the Climbing Paradise You Never Knew Existed
a year ago

Your Solo Staycation Survival Guide: How to Ace That Me-Time Without a Hitch
a year ago
Windmills and Wallets: Kinderdijk's Iconic Landscape Faces a Fee Furore
a year ago
From Screen to Scene: How K-Dramas Are Turning Filming Locations into Fan Pilgrimages
a year ago
Want to Start Backpacking? These Countries Offer Captivating Beauty at Low Cost
a year ago